DIY FAUCET INSTALLATION AND MAINTENANCE
I. Introduction to DIY Faucet Installation and Maintenance
Embracing the DIY Spirit
In the realm of home improvements, the ability to manage your own faucet installation and maintenance stands out as both a practical skill and a satisfying endeavor.
For homeowners, delving into DIY projects not only fosters a sense of accomplishment but also offers an opportunity to personalize their living spaces.
This guide is designed to empower you, whether you’re a novice or a seasoned DIY enthusiast, with the knowledge and confidence to tackle faucet installation and upkeep in your home.
The Importance of Faucet Maintenance
A well-functioning faucet is more than just a household necessity; it’s a cornerstone of daily convenience and hygiene. Over time, faucets can develop issues such as leaks, low water pressure, or wear and tear, which can lead to increased water bills and potential water damage.
Regular maintenance and timely DIY repairs can extend the life of your faucets, conserve water, and ensure they remain a reliable part of your home.
What to Expect
This article will walk you through the essentials of DIY faucet installation and maintenance. Starting with understanding different types of faucets, we’ll guide you through the necessary tools and materials, followed by a detailed, step-by-step installation process.
Additionally, we’ll cover basic maintenance tips to keep your faucets in prime condition and troubleshoot common issues. For those situations that require professional expertise, we’ll also help you recognize when it’s time to call in a specialist.
Armed with the right tools, knowledge, and a bit of patience, you’ll find that managing your home’s faucets can be a rewarding and cost-effective experience. Let’s dive into the world of DIY faucet installation and maintenance!
II. Understanding Different Types of Faucets
Exploring the Diversity of Faucet Designs
Before embarking on the journey of DIY faucet installation and maintenance, it’s crucial to familiarize yourself with the various types of faucets available.
Each type comes with its unique features, installation procedures, and maintenance requirements. Knowing the differences can help you choose the right faucet for your home and understand how to handle it effectively.
Common Faucet Types
1. Compression Faucets
These are often found in older homes. They function through a system of washers and seals, requiring you to tighten the handle to close the water flow. While simple in design, they are more prone to leaks due to worn-out washers.

2. Ball Faucets
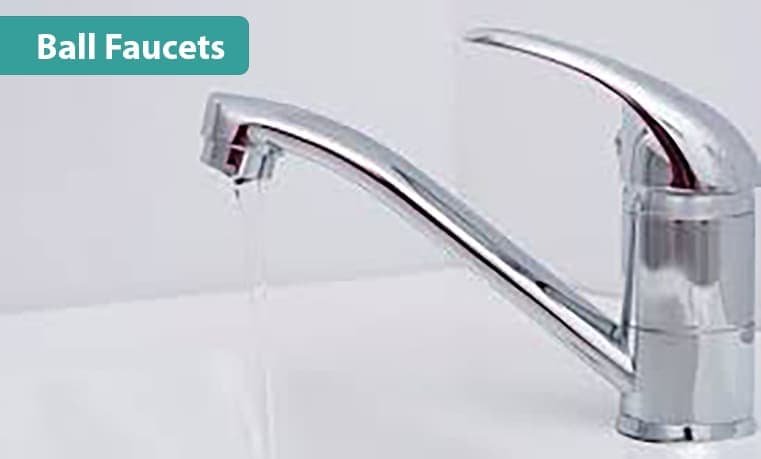
Commonly used in kitchens, ball faucets have a single handle that moves over a ball-shaped cap right above the spout. The ball regulates the flow and temperature of the water. Their moving parts may require more frequent maintenance.
3. Cartridge Faucets
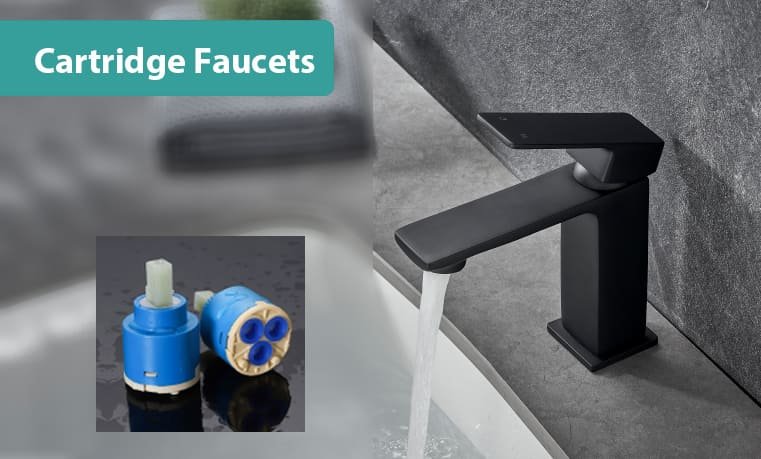
Available in both single and double-handle models, these faucets operate with a cartridge that moves up and down to regulate water flow. They are known for their reliability and require less maintenance than compression faucets.
4. Disc Faucets
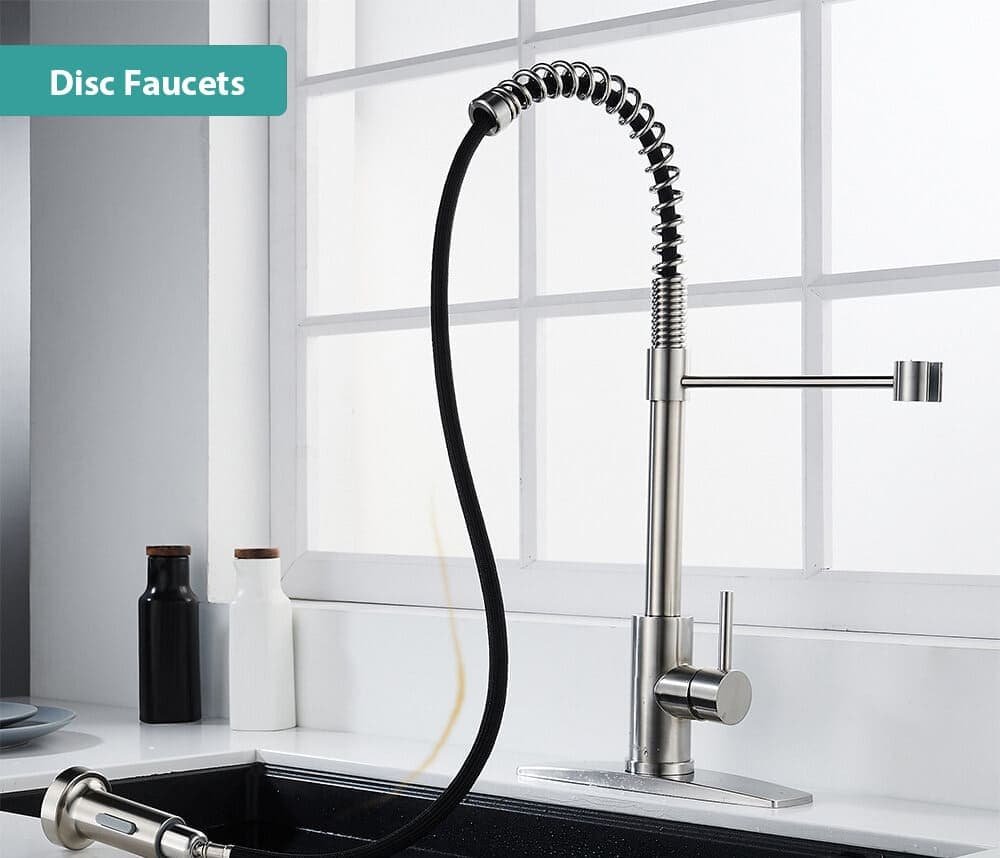
Featuring a single lever over a wide cylindrical body, the disc faucet is a newer design. It mixes hot and cold water inside a mixing chamber called a pressure balance cartridge. These faucets are known for durability and low maintenance needs.
5. Pull-Out and Pull-Down Faucets
Popular in modern kitchens, these faucets offer a high level of convenience and functionality. They come with a spray wand that can be pulled out or down from the spout, offering more flexibility in water delivery.

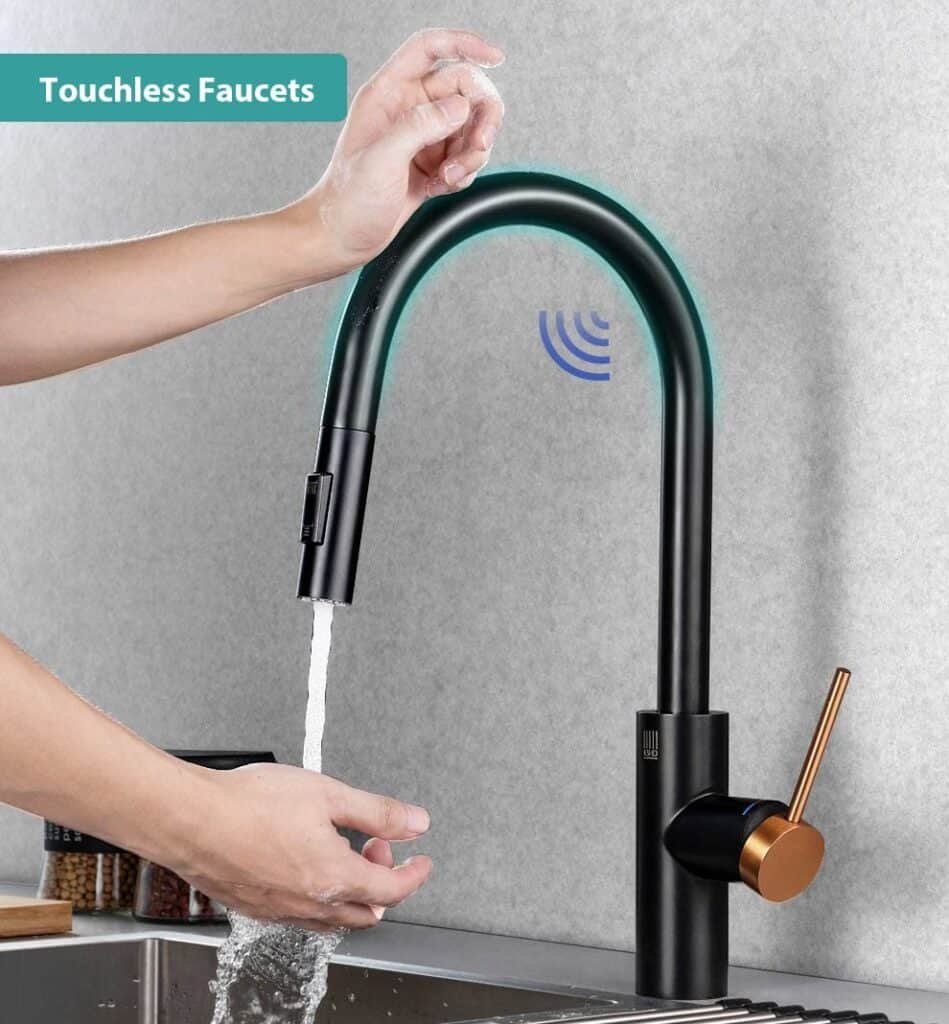
6. Touchless Faucets
Using motion sensor technology, these faucets allow you to start and stop water flow without touching the handles. They are convenient and hygienic but require a power source and can be more complex to install and maintain.
When choosing a faucet, consider factors like your sink’s configuration, the faucet’s compatibility with your plumbing system, and your personal preferences in terms of style and functionality.
For instance, if you have a three-hole sink, a single-handle faucet might not be suitable unless it comes with a base plate to cover the extra holes.
III. Tools and Materials Needed for Faucet Installation
Equipping Yourself for the Task
Proper tools and materials are crucial for a successful DIY faucet installation. Being well-prepared not only makes the installation process smoother but also helps prevent potential issues during and after the installation.
Here’s a comprehensive list of tools and materials you should consider gathering before starting your project.
Essential Tools
1. Adjustable Wrench
For tightening and loosening nuts and fittings.
2. Basin Wrench
Specifically designed for working in tight spaces under the sink.
3. Pipe Wrench
Useful for larger plumbing fixtures and pipes.
4. Plumber's Tape (Teflon Tape)
To seal and prevent leaks in threaded connections.
5. Screwdrivers
Both flat-head and Phillips-head, for various types of screws.
6. Utility Knife
For cutting old caulk and opening packages.
7. Plumbing Putty or Silicone Caulk
To create a waterproof seal around the faucet base.
8. Towels and a Bucket
To clean up any spilled water and catch drips.
Additional Helpful Items
1. Flashlight or Work Light
To illuminate the workspace under the sink.
2. Plumber's Grease
To lubricate moving parts during installation.
3. Measuring Tape
For precise measurements, especially when drilling new holes.
4. Safety Glasses
To protect your eyes from debris.
5. Gloves
To protect your hands during work.
Materials Specific to Your Faucet Type
• Supply Lines
Ensure you have the correct length and type of supply lines for your specific faucet model.
• Mounting Hardware
This typically comes with your new faucet but double-check to ensure you have all the necessary nuts, bolts, and washers.
• Escutcheon Plate (if needed)
Used to cover extra holes in your sink when installing a single-handle faucet on a three-hole sink.
Pre-Installation Checklist
Before starting the installation process, ensure you have all the necessary tools and materials at hand.
It’s also wise to read through the faucet’s installation manual thoroughly to familiarize yourself with any specific requirements or tools unique to your faucet model.
Having the right tools and materials ready before beginning your faucet installation can make the difference between a straightforward DIY project and a frustrating experience.
With these items in your arsenal, you’re well on your way to a successful faucet installation.
IV. Step-by-Step Guide to Installing a Faucet
Navigating the Installation Process
Installing a new faucet can seem daunting, but with the right tools, a bit of patience, and this step-by-step guide, you can accomplish it successfully.
Here’s how to proceed, from start to finish.
Step 1: Preparation
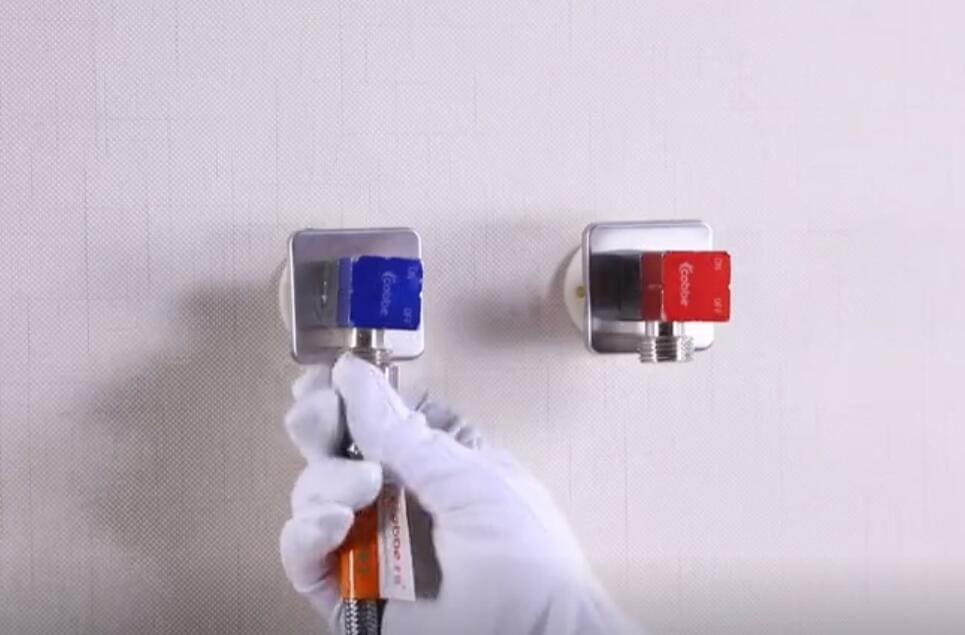
Locate the shut-off valves under the sink and turn them off. Open the old faucet to release any remaining water and pressure.
Remove items from under the sink to provide a clear workspace.
Place it under the pipes to catch any dripping water.
Step 2: Remove the Old Faucet
Use a wrench to loosen and disconnect the water supply lines from the faucet.
Unscrew the mounting nuts that hold the faucet in place, using a basin wrench if necessary.
Carefully remove the faucet from the sink.
Step 3: Install the New Faucet
Wipe down the area where the new faucet will sit.
If recommended by your faucet’s installation guide, apply a bead around the base of the faucet for a watertight seal.
Place the new faucet into the mounting holes on the sink.
From underneath, attach any provided mounting hardware and tighten securely.
Attach the faucet’s supply lines to the shut-off valves, using plumber’s tape for a leak-free connection.

Step 4: Final Checks
Clean up any excess putty or caulk.
Slowly turn the shut-off valves back on and check for leaks.
Turn on the faucet to ensure proper water flow and temperature control. Adjust connections if necessary.
Step 5: Maintenance Tips
Periodic checks can help catch issues early.
This prevents build-up and maintains its appearance.
DIY faucet installation is a rewarding project that enhances your home and saves the cost of a plumber. With these steps, you’re equipped to install your new faucet with confidence and skill.
V. Basic Maintenance Tips for Your Faucet
Ensuring Longevity and Optimal Performance
Proper maintenance is key to extending the life of your faucet and ensuring it operates efficiently.
Regular upkeep not only prevents common problems but also maintains water quality and reduces the likelihood of needing costly repairs. Here are some basic maintenance tips to keep your faucet in top condition.
Routine Cleaning
Use a mild soap and damp cloth to clean your faucet regularly. Avoid harsh chemicals or abrasive cleaners that can damage the finish.
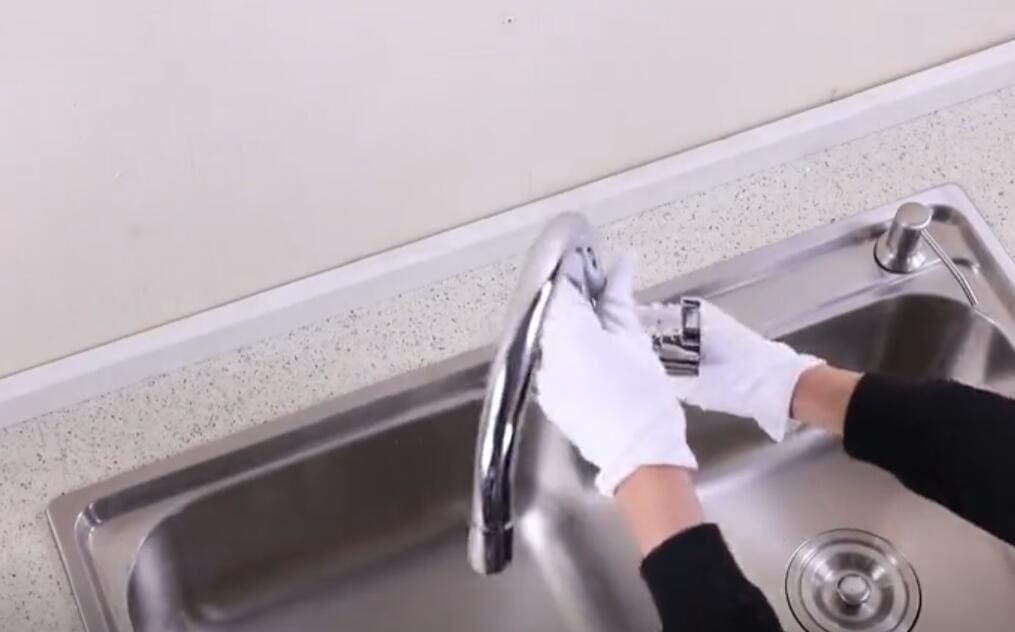
In areas with hard water, mineral deposits can build up on your faucet. Vinegar is an effective, natural cleaner for removing these deposits. Soak a cloth in vinegar and wrap it around the faucet, letting it sit for an hour before wiping clean.
The aerator, located at the end of the faucet, can become clogged with sediment over time. Unscrew it, disassemble the parts, and clean them in vinegar or soapy water. Rinse and reassemble the aerator, then screw it back into place.
Periodic Checks
Regularly check for leaks in the faucet handle and base, as well as under the sink. Even small drips can lead to larger issues if left unaddressed.
Occasionally, fittings and connections may loosen. Check and gently tighten them with a wrench, being careful not to over-tighten.
Preventative Measures
Turning handles too forcefully can wear out the valves more quickly. Teach household members to use a gentle touch.
Treat your faucet with care to prevent damage. Avoid hanging heavy items on the spout or using the faucet as a support.
Seasonal Considerations
If you live in an area with freezing temperatures, ensure that your indoor and outdoor faucets are properly insulated to prevent freezing and bursting.
When to Seek Professional Help
If you encounter problems like persistent leaks, fluctuations in water pressure, or if you need to replace internal components, it might be time to consult a professional plumber.
VI. Troubleshooting Common Faucet Issues
Navigating Through Typical Faucet Problems
Even with proper installation and maintenance, faucets can sometimes encounter issues. Understanding how to troubleshoot these common problems can save you time and money. Here’s a guide to identifying and fixing some typical faucet issues.
1. Leaky Faucet
Determine whether the leak is coming from the spout or handles. This can help you identify whether the problem lies with a worn-out washer, a faulty O-ring, or internal valve issues.
If the leak is from the handle, it often indicates a worn O-ring or seal. Turn off the water supply, disassemble the handle, and replace the O-ring or washer.
Leaks from the spout typically require replacing the valve seat or washer in a compression faucet, or the cartridge in a cartridge faucet.
2. Low Water Pressure
Low water pressure often results from a clogged aerator. Remove the aerator, clean out any debris, and rinse it before screwing it back into place.
Ensure there are no kinks or blockages in the faucet’s supply lines.
3. Squeaky Handle
A squeaky handle usually needs lubrication. After turning off the water supply, remove the handle and apply plumber’s grease to the moving parts before reassembling.
4. Difficulty in Adjusting Temperature
In single-handle faucets, difficulty in adjusting temperature might be due to issues with the mixing valve. Consult your faucet’s manual for how to adjust or replace it.
5. Faucet Handle is Hard to Turn
Hard-to-turn handles can be due to mineral buildup or worn-out components. After disassembling the handle, clean any mineral deposits and apply lubricant. If the components are worn out, consider replacing them.
When to Consult a Professional
While many faucet issues can be resolved with DIY methods, some problems may require professional attention. If you’re facing persistent issues, complex repairs, or are unsure of how to proceed, it’s wise to consult a plumber.
Troubleshooting common faucet issues effectively can extend the life of your faucet and ensure its optimal performance. With these tips, you can handle most of the minor repairs and adjustments yourself, maintaining the functionality of your home’s faucets.
VII. When to Call a Professional: Recognizing Complex Problems
Knowing Your Limits in Faucet Repair
While DIY faucet installation and maintenance can be both fulfilling and cost-effective, there are times when professional intervention is necessary.
Recognizing the signs of complex plumbing issues is crucial to prevent further damage and ensure the safety and functionality of your home’s plumbing system.
Indicators of Complex Issues
If leaks continue despite replacing washers, O-rings, or other components, the issue may be deeper in the plumbing system or stem from incorrect installation.
A noticeable decrease in water pressure throughout the home, not just at one faucet, could indicate a more serious problem like pipe corrosion or major blockages.
Corrosion on pipes or fittings, especially if accompanied by leaks, is a sign of aging plumbing that may require professional replacement or repair.
Signs of water damage such as stains on walls or ceilings, peeling paint, or warped flooring under or near plumbing fixtures necessitate immediate professional attention.
Certain high-end or intricate faucet designs, especially those integrated into larger systems like smart home devices, may require specialized knowledge for installation and repair.
Advantages of Professional Help
Professionals bring a level of expertise and experience that is crucial for complex plumbing issues.
They have access to the right tools and equipment for sophisticated repairs.
Handling complex plumbing issues without proper knowledge can lead to accidents or exacerbate the problem. Professionals ensure safe and effective repairs.
Professional work often comes with a warranty, and plumbers will ensure compliance with local building codes and regulations.
How to Choose the Right Professional
Ask friends, family, or neighbors for plumber recommendations.
Ensure the plumber is licensed, insured, and has positive reviews or testimonials.
- For significant repairs, get quotes from several plumbers to compare prices and services.
Professional work often comes with a warranty, and plumbers will ensure compliance with local building codes and regulations.
While DIY is empowering, recognizing when to call in a professional plumber is equally important.
Understanding the signs of complex plumbing problems and seeking expert help when necessary, can save you from future hassles and ensure the longevity and safety of your home’s plumbing system.

