Install Concealed Valve Showers System Bathroom Faucets
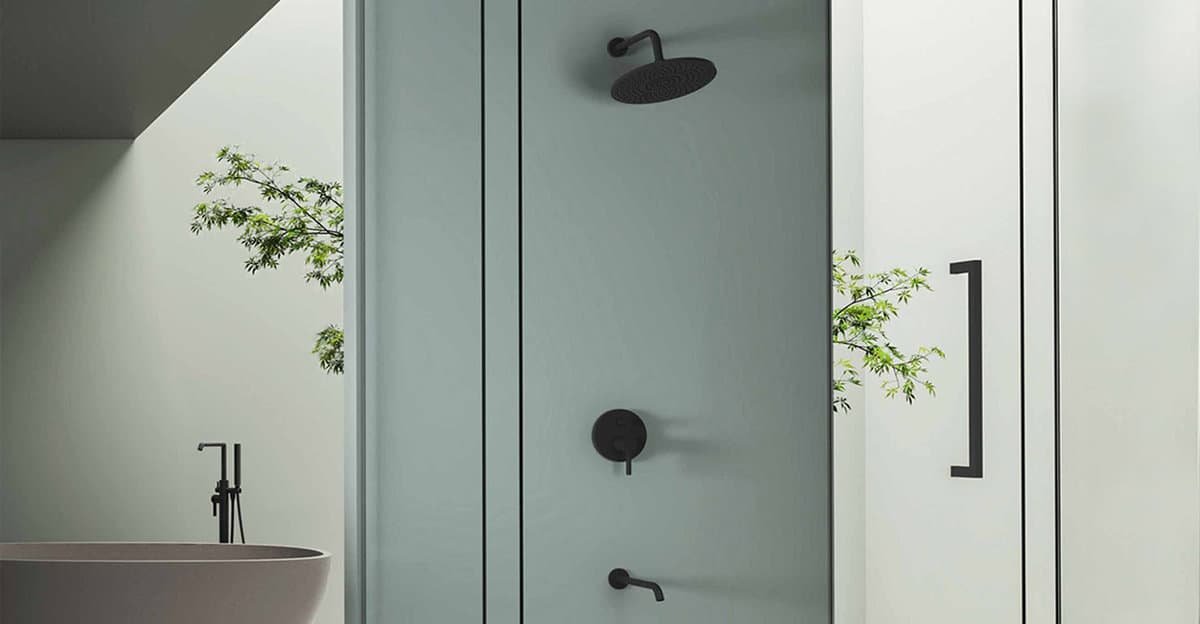
If you want to update and simplify your bathroom, installing an elegant design concealed valve showers system could be the answer. Unlike regular hand shower systems, a concealed valve showers system in your bathroom hides the valves and pipes behind the wall to make it look cleaner.
Despite the installation process’s intimidating appearance, it is a DIY project that can be finished in a few hours with the correct equipment and experience. We’ll walk you through the process of installing a wall-mounted concealed valve showers system in your modern bathrooms in this article so you may take a cool, fashionable hand shower.
Steps on How to Install Concealed Valve Showers System
To install a concealed valve showers system in your bathroom, follow these specific installation instructions:
Step #1 Prepare the Tools You Need
Here is the list of materials you might need when mounting the valve shower system:
Concealed valve shower system kit
Drill
Pipe tape
Piping
Screwdriver
Screws
Trim plate
Step #2 Turn Off the Water Supply
Before you start the installation, make sure to turn off the water supply to the bathroom. You can usually do this by turning the shower valve off, which is typically located under the sink or in a utility room.
Step #3 Prepare the Shower Area
Thoroughly clean the area and remove any shower valves or fixtures that are currently there. Ensure sure there is no dust or dirt in the area. Below are the steps for removing the shower valves:
Use a screwdriver to remove the screws that hold the existing one in place. Gently push them away from the wall with a putty knife or scraper.
If a shower system is being replaced, the old shower valve must be removed. After separating the pipes from the valve with a wrench, remove the screws holding the valves in place with a screwdriver.
Clean the area where the new shower system will be installed with a sponge or cloth. Make sure to clear away any possible dust or debris.
Use spackling paste or joint compound to fill in any holes left by the old fixtures or valves that were installed in the wall. Before continuing, let the compound dry fully.
Step #4 Install the Concealed Shower Valve
The concealed valve showers system features two valves for hot and cold water. But some people prefer a single-hole faucet for their shower valves. Place these valves where you want them on the wall. Make sure that the shower valve is level and secure.
Installing the valve requires adhering to the manufacturer’s installation instructions, which may call for making holes in the wall.
The thermostatic valve evenly distributes hot and cold water at the chosen temperature throughout your shower, preventing temperature changes while it is running.
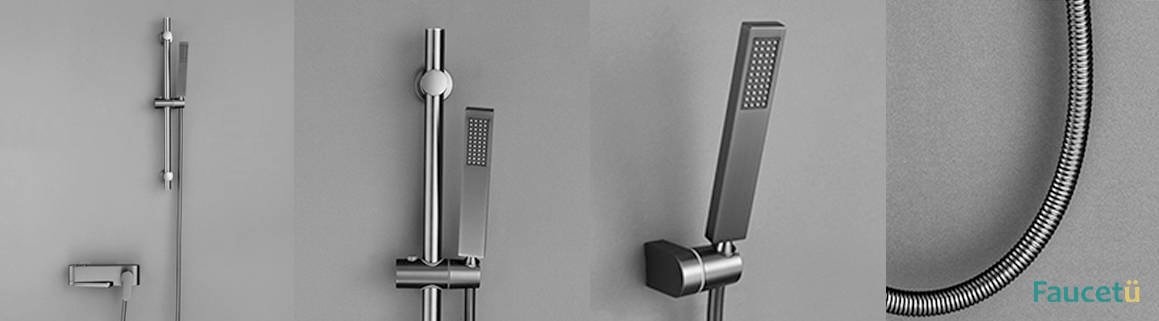
Step #5 Install the Shower Head and Spout
Place the shower head and spout where you want them. You might need to use a drill to make holes in the fixtures. Verify the security and level of the fixtures.
Below are the steps for mounting the wall mounted shower head and spout:
Choose the location for the wall mounted shower head and spout. Use a measuring tape to ensure they are properly spaced apart and at the right height.
Mark the placement of the shower faucet and spout it on the wall with a pencil. Verify the markers once more to be sure they are level and where they should be.
Make holes in the wall where you indicated the location of the shower faucet and spout using a drill. Ensure that the holes’ size corresponds to the fixtures’ size.
Screw the shower faucet onto the pipe that extends from the wall. To tighten it firmly, use a wrench, but take care not to overtighten it.
The pipe that protrudes from the wall is secured with the spout. Once more, tighten it securely with a wrench, being careful not to overtighten it.
Check the showerhead and spout for leaks after turning on the water supply. If there are any seeps, use a wrench to tighten the connections until they are solid gradually.
Step #6 Connect the Pipes
Attach the pipes to the shower valve, showerhead, and spout. Use pipe tape to make sure the connected visible parts are sealed tightly. To join the pipes, follow the manufacturer’s instructions, which may call for soldering or the use of compression fittings.
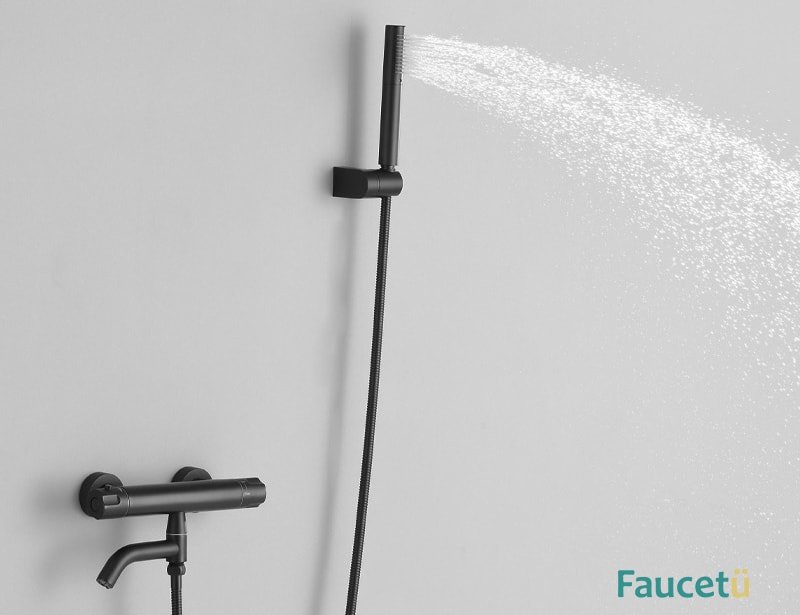
Step #7 Test the System
Test the system for leaks by turning on the water supply. Check that the showerhead and spout are operating properly about the flow of water. Inspect for seeps at every joint and connection, and tighten as required.
Follow these procedures to test the concealed valve shower system:
The bathroom where the concealed valve showers system was installed should now have water flowing through it.
Look for leaks in the valve and the pipes. Turn off the water supply, tighten any loose connections, and replace any damaged components if you notice water leaking from any area of the system.
- To check the water flow, turn on the shower. Verify that the pressure is adequate for your needs and that the water is flowing steadily.
- To test the hot and cold water supplies, adjust the temperature control. Make sure the temperature may be changed to your preferred level and is stable.
- If your concealed valve shower system has a diverter, ensure you can switch between the various shower options by testing it (e.g. overhead shower and handheld shower).
Check that the water has completely stopped flowing before turning off the shower.
Once the shower valve has been tested, check the surrounding wall to make sure there are no leaks and that the shower valve and pipes are appropriately hidden. Make sure to keep the valve insert’s protective cover in place to safeguard the faucet’s valve insert.

Conclusion
In conclusion, installing a concealed valve showers system is a great way to update your bathroom and create a cleaner look. Although the installation process may seem daunting, it is a DIY project that can be completed with the correct equipment and experience. By following the steps outlined in this article, you can easily install a wall-mounted concealed valve showers system in your bathroom. With a little patience and effort, you can achieve a modern and elegant bathroom you will love. Visit faucetu.com and learn more about the concealed valve showers system.